
Photoshopのパスを使用して文字を表現することってできるんですか?Photoshopを初めて使用する初心者でも、簡単にわかりやすく教えてほしいです。

なるほど!それじゃ、今回は「Photoshopのパステキストの基本操作方法」について解説していくね!
本記事のテーマ
パステキスト操作手順を網羅的に解説!それでは、さっそく本題に入っていきましょう!
はい、今回もよろしくお願いします(*´▽`*)
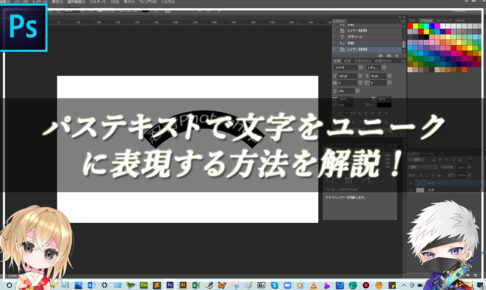
Photoshopのパステキストで文字を表現する!
パス上でテキストを入力することで、文字の表現を多種多様の形にすることができます。ロゴを作成したり、文字の表現を変えたい場合は、パステキストを使用していきましょう。
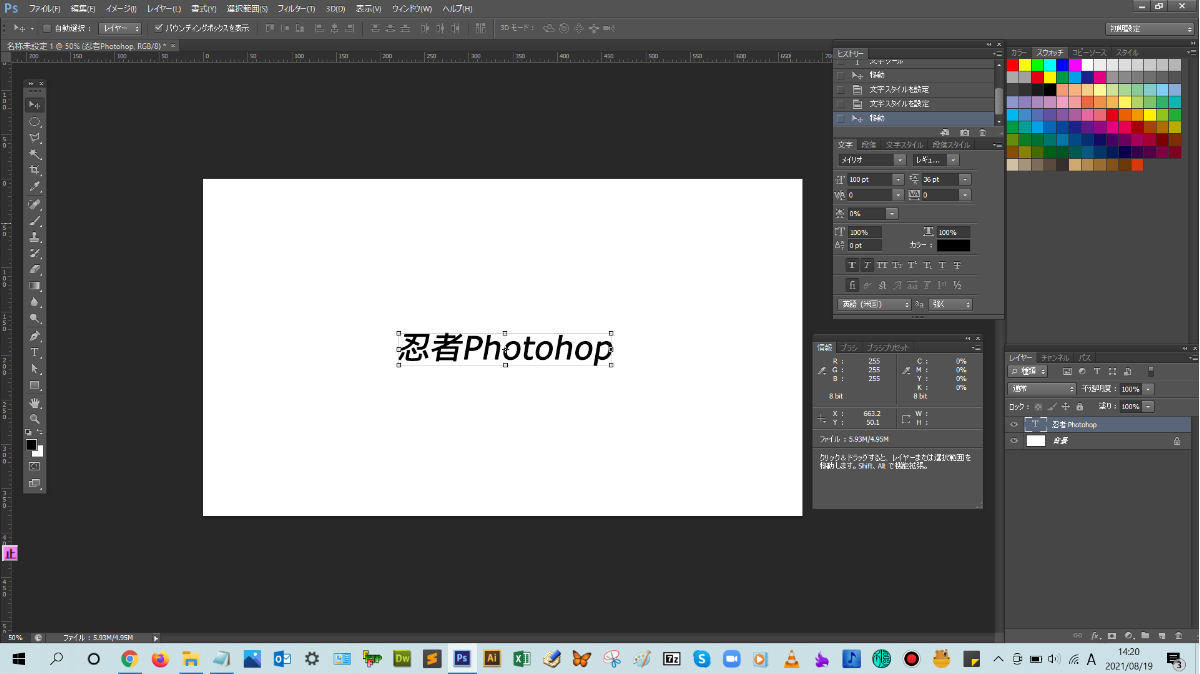
■BEFORE:通常の文字
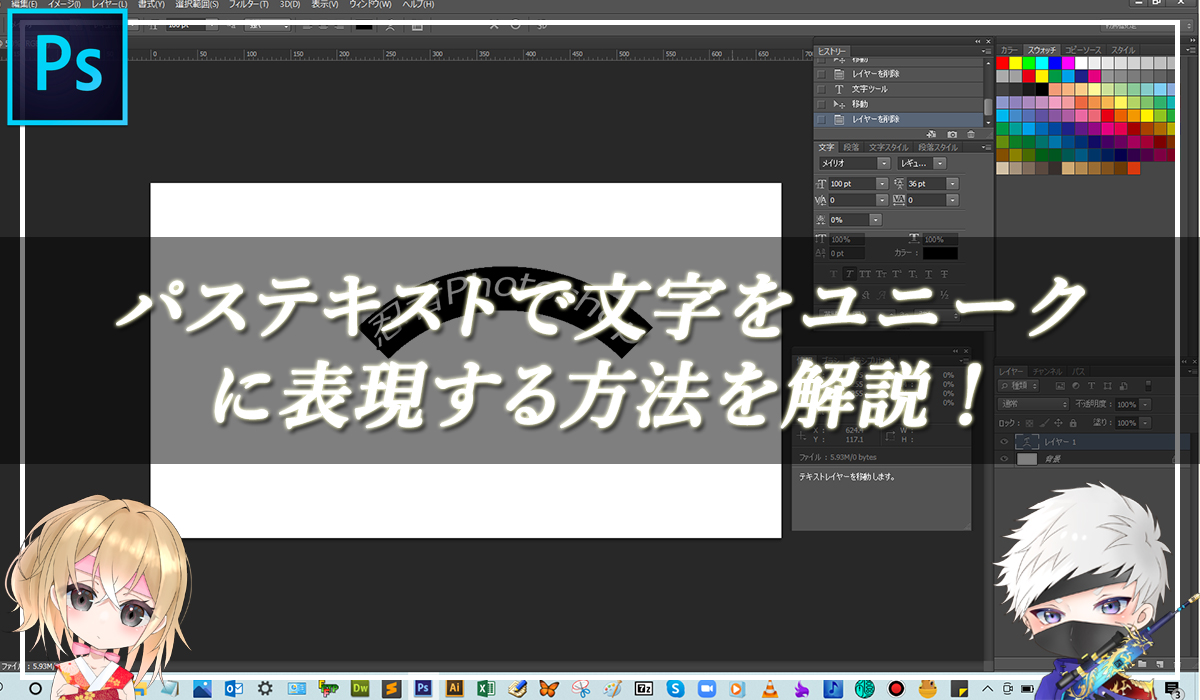
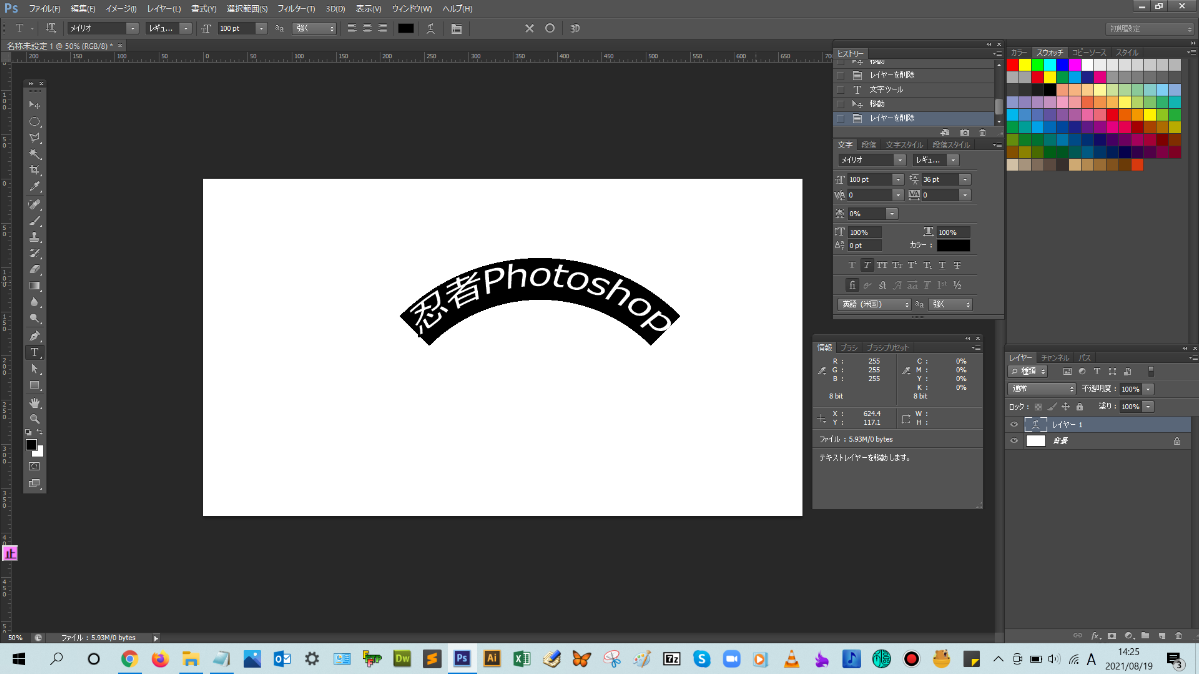
■AFTER:ワープが表現された文字
パスを作成して文字を入力する手順
パスを使うと文字の表現を変えれるということを覚えておこう!
手順:「①ツールパネルから横書き文字ツールをクリック」 > 「②オプションバーの設定」「③ポイントテキストで文字を入力する」 > 「④ワープテキストの詳細設定をする」
解説:ツールパネルから横書き文字ツールをクリックします。

横書き文字ツールをクリックすると、上のメニューバーの下の表示が変更されますが、ここは、選んだツールによって、そのツールのオプションを設定できる専用のバー(オプションバー)が表示されます。

オプションバーの設定をしていきます。ここでは、フォント:メイリオ、スタイル:R、サイズ:100pt、カラー:黒に設定します。
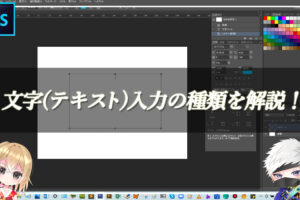
ドキュメント上をクリックして、ポインターが点滅したら、文字を入力していきます。

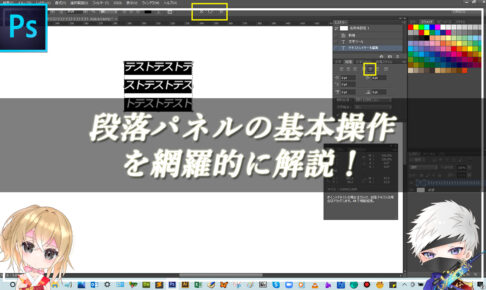
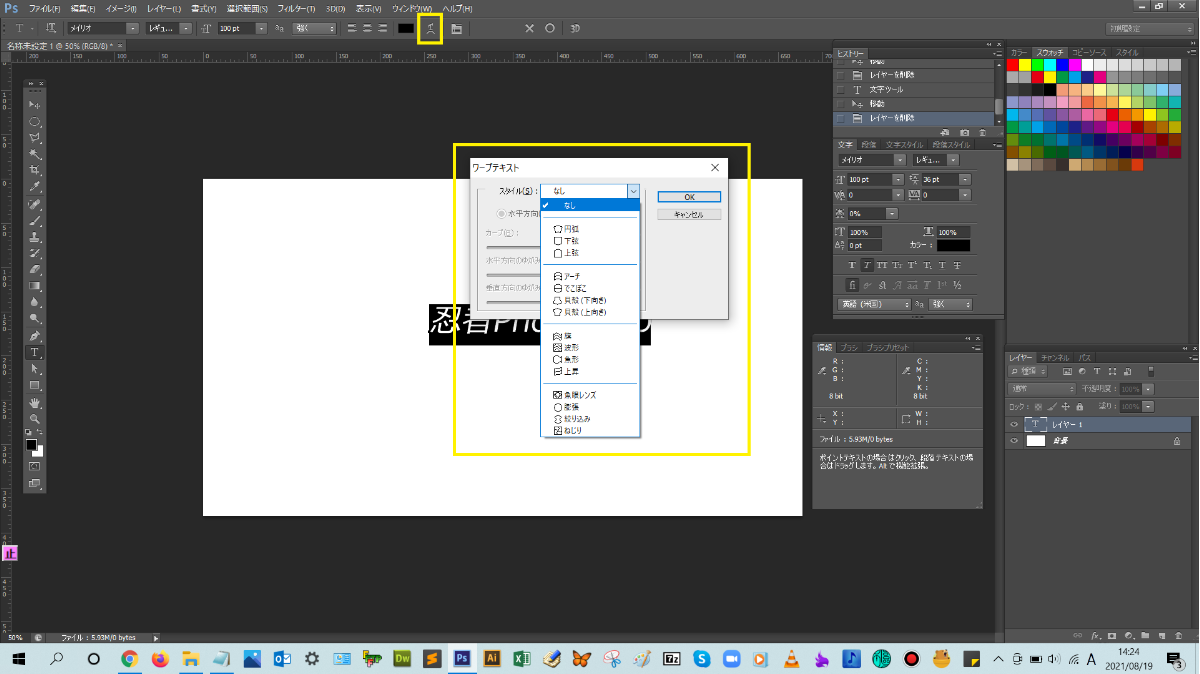
Crtl+Enterかオプションバーの右側にある「〇」ボタンをクリックして入力を確定させる前に、オプションバーにある【ワープテキストを作成】ボタンをクリックして、ワープテキストのダイアログボックスを表示させます。スタイルの設定をしていきます。
【ワープテキストを作成】ボタンがあるときと、ないときがあるのですが、これはどういうことですか?
この機能は、文字を入力していないと選択することができよ!文字を入力→選択できるという手順をしっかり覚えておこう!
わかりました。ありがとうございます。それと、各項目の詳細を教えてほしいです。
スタイル:文字の表現方法、カーブ:曲がり度合い、水平方向・垂直方向のゆがみ:左右上下にパスのワープをゆがませる度合いを設定できるよ。
ここでは、円弧を選択します。設定が完了したら、【OK】をクリックして、ダイアログボックスを閉じます。

文字にワープをかけることができましたね!(^^)!
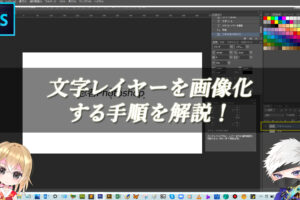
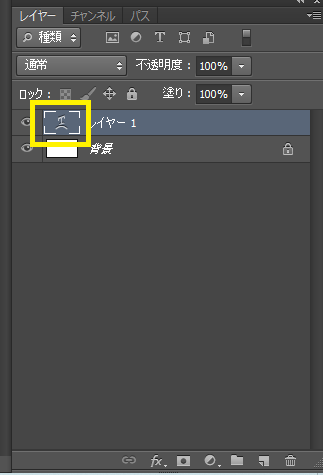
レイヤーパネルのテキストレイヤーのサムネイルアイコンを見ると、ワープテキストのアイコンに切り替わっているのがわかりますね。
point
再度、編集したい場合は、テキストレイヤーのサムネイルアイコンをダブルクリックすると、ワープテキストのダイアログボックスが表示されるので、そこで設定を変更していきましょう。これで、本文は以上となります。お疲れ様でした!
まとめ!
- パスを作成して文字を入力する手順
- ワンポイントアドバイス
読者さんの悩みがなくなるように、このような解説をしてきましたが、いかがでしたでしょうか?
Photoshopのパステキストの基本操作手順が少しでも分かりやすく伝わっておりましたら幸いです。
では、ここまで
読んでいただきありがとうございました!
本記事は以上となります。また次回の記事でお会いしましょう!