
Photoshopで文字入力をしたいのですが、基本的な操作方法がわかりません。Photoshopを初めて使用する初心者でも、簡単にわかりやすく教えてほしいです。

なるほど!入力方法は3パターン覚えておこう!それじゃ、今回は「Photoshopの文字入力の基本操作方法」について解説していくね!
本記事のテーマ
文字入力手順を網羅的に解説!それでは、さっそく本題に入っていきましょう!
はい、今回もよろしくお願いします(*´▽`*)
Photoshopでの文字の入力方法の種類まとめ!
Photoshopの【文字ツール】の機能を使用することで、簡単にドキュメント上に文字を作成することができます。横書きでも縦書きでも入力できます。
文字ツールと文字マスクツールがあり、文字ツールを使用すると新規で文字レイヤーが作成され、文字が入力されるのに対して、文字マスクツールを使用するとレイヤーは作成されず、その形の選択範囲を作成することができます。
■横書き文字ツール

■縦書き文字ツール

■横書き文字マスクツール

■縦書き文字マスクツール

テキストツールの使い方手順
文字の入力方法は、3パターンあるということを覚えておこう!
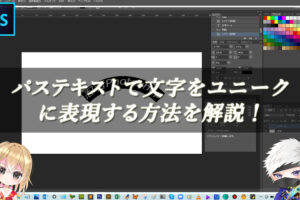
■パターン1:ポイントテキスト
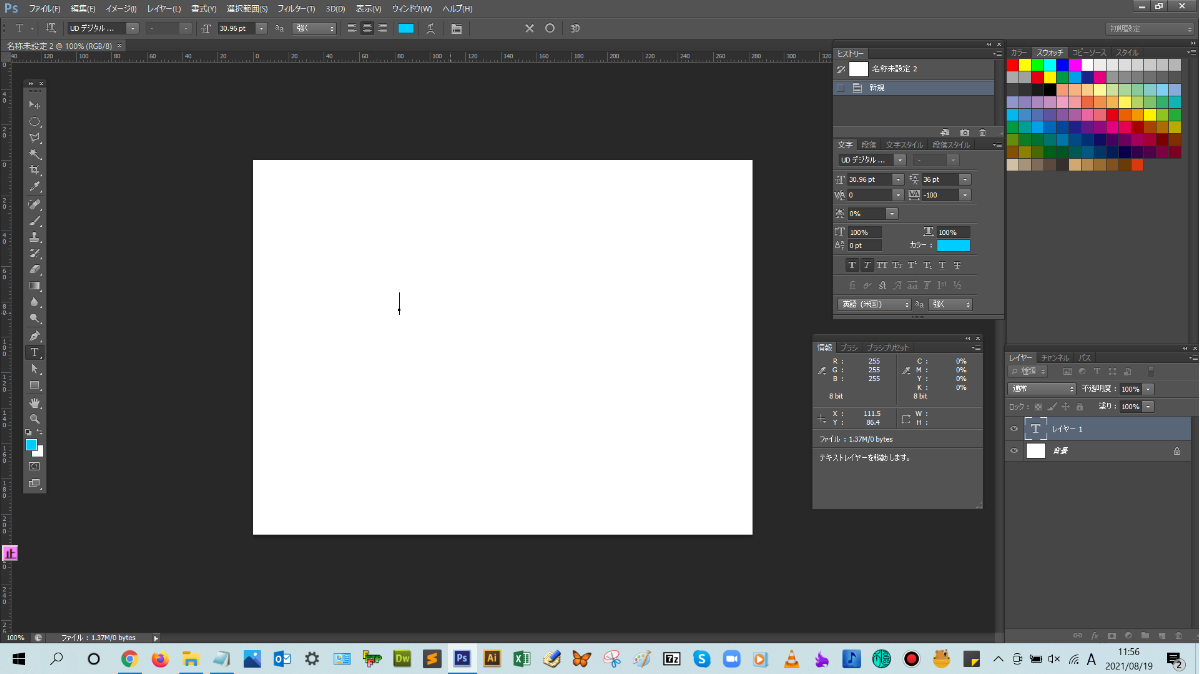
解説:文字ツールを選択した後、ドキュメント上をクリックして、文字を入力する方法です。改行しない場合、文字が横(縦)に流れ続けるので、長文には向いていません。短文を入力するときに使用します。
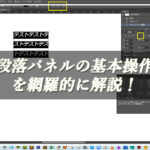
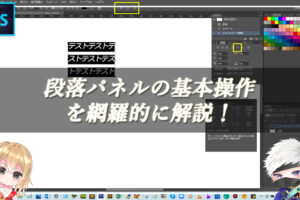
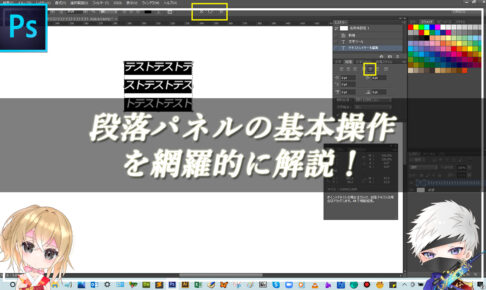
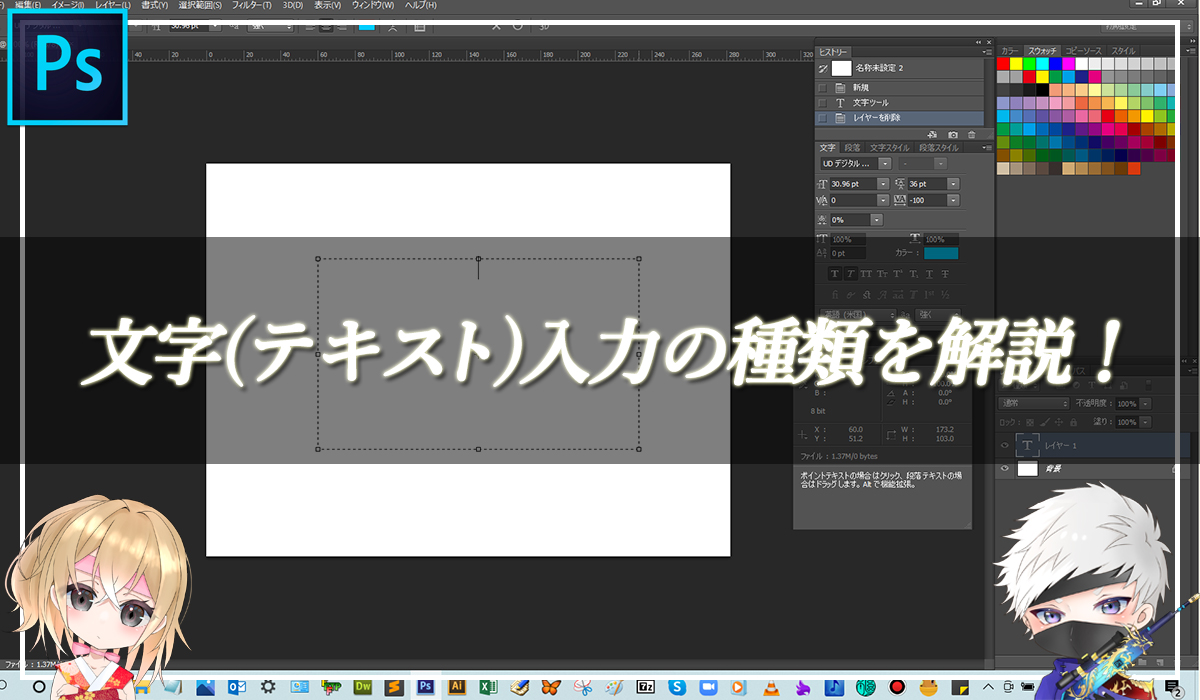
■パターン2:段落テキスト(エリア内テキスト)
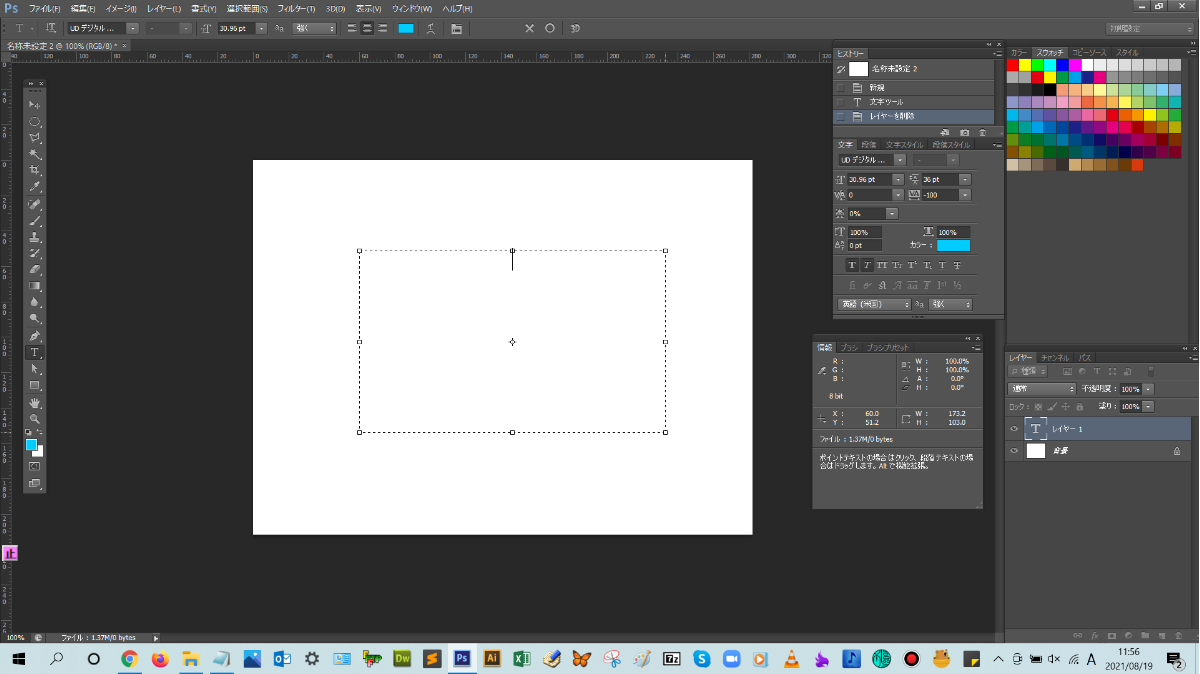
解説:文字ツールを選択した後、ドキュメント上をドラッグして、テキストエリアを作ってから文字を入力する方法です。文字がテキストエリアの端まで入力されると、自動で改行されます。長文を入力するときに使用します。
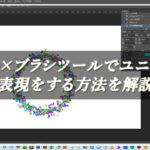
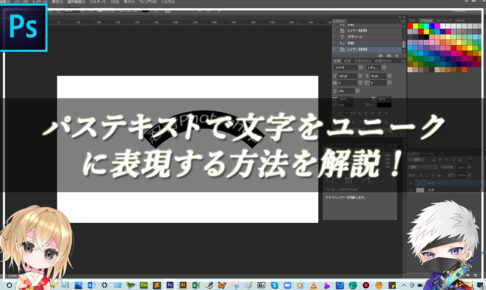
■パターン3:パス上テキスト
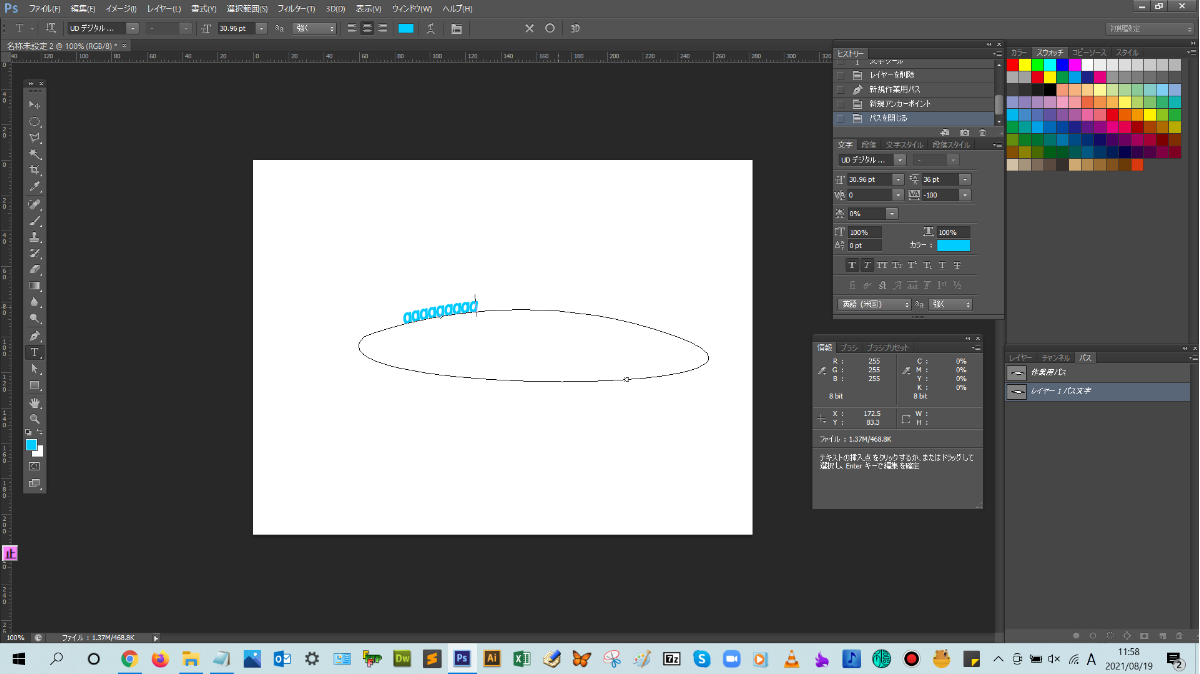
解説:事前に作成したパスの上に文字を入力する方法です。パスを作成して、文字ツールを選択した後、そのパスの上をクリックすることで、文字が入力できるようになります。文字に動きをつけることができるので、文字の表現方法を変えたい場合に、使用します。
point
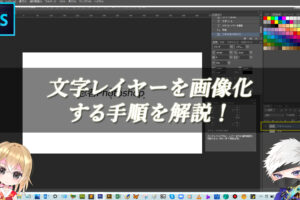
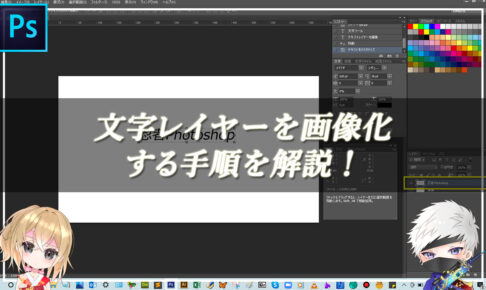
文字を描画したときのテキストレイヤーについてですが、テキストレイヤーは文字の情報を「フォント」として持っているため、文字を後から自由に変更できます。もし、ラスタライズで画像化すると、フィルター機能などで画像加工できるようになりますが、フォント情報がなくなり、文字を変更することができなくなってしまうので、覚えておきましょう。Photoshopでフォントって何が使えますか?
Photoshopでは、使用しているパソコンにインストールされてるフォントを利用できるよ!だから、フリーフォントや有料フォントなどを購入して、パソコンにフォントをインストールしたら、それらのフォントもPhotoshopで利用可能だよ!
これで、本文は以上となります。お疲れ様でした!
まとめ!
- 文字入力の種類について
- テキストツールの使い方手順
- ワンポイントアドバイス
読者さんの悩みがなくなるように、このような解説をしてきましたが、いかがでしたでしょうか?
Photoshopの文字入力方法の基礎が少しでも分かりやすく伝わっておりましたら幸いです。
では、ここまで
読んでいただきありがとうございました!
本記事は以上となります。また次回の記事でお会いしましょう!