Photoshopでオブジェクトの色をグラデーションに変換させたいのですが、どうしたらいいですか?Photoshopを初めて使用する初心者でも、簡単にわかりやすく教えてほしいです。

その場合は、レイヤースタイルのグラデーションオーバーレイを使用したらいいよ!それじゃ、今回は「Photoshopのグラデーションオーバーレイの操作方法」について解説していくね!
本記事のテーマ
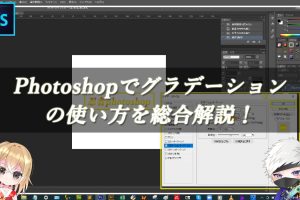
色味をグラデーションに変換する操作手順を網羅的に解説!それでは、さっそく本題に入っていきましょう!
はい、今回もよろしくお願いします(*´▽`*)
Photoshopでオブジェクトの色味をグラデーションに変換する!
Photoshopのレイヤーパネルにある、レイヤースタイルアイコンをクリックして【グラデーションオーバーレイ】の機能を使用することで、簡単に対象物の色味をグラデーションに変換することができます。
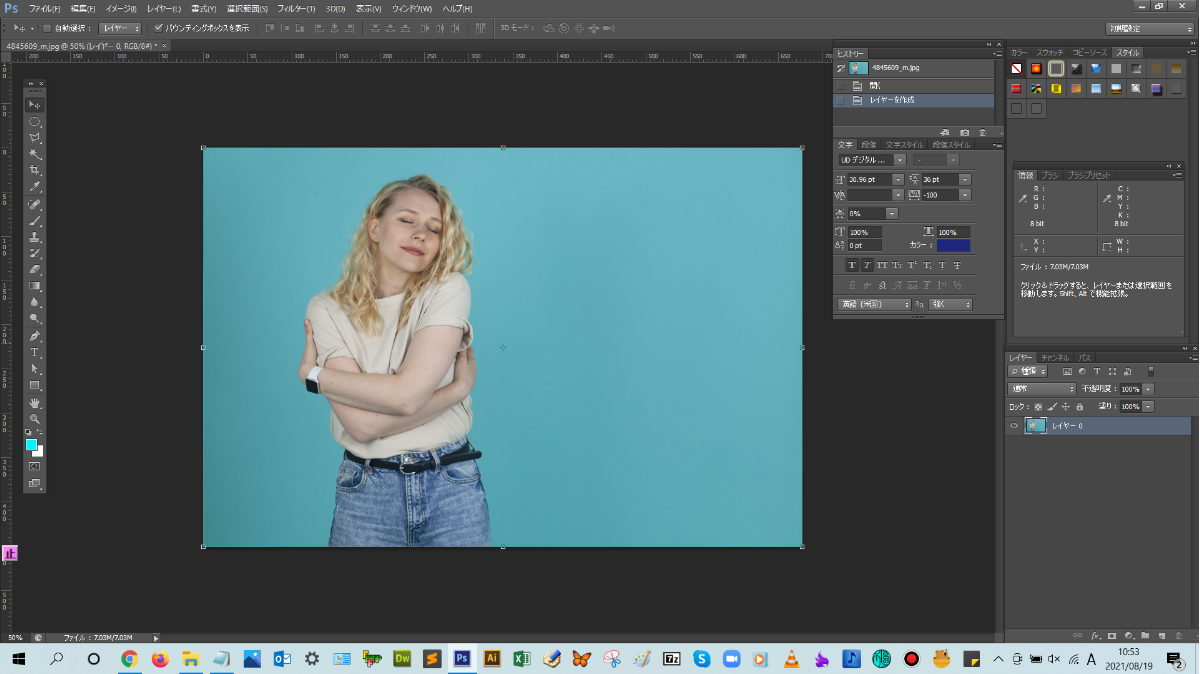
■BEFORE:通常の画像
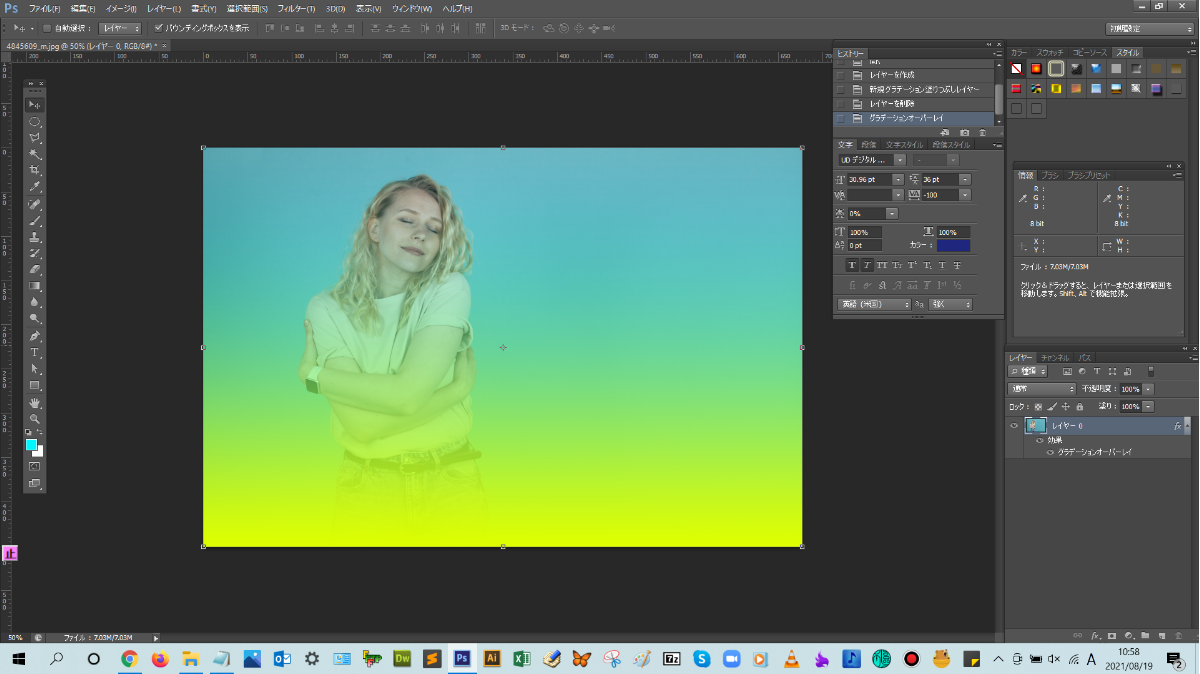
■AFTER:色味をグラデーションに変換した画像
レイヤースタイルでオブジェクトの色味をグラデーションに変換する手順
画像全体に適用させるのではなく、オブジェクトの色味をグラデーションに変換したい場合は、レイヤースタイルのグラデーションオーバーレイを使用するということを覚えておこう!
手順:「①レイヤーパネルの下にあるレイヤースタイルアイコンをクリック」 > 「②表示される一覧の中にあるグラデーションオーバーレイをクリック」 > 「③レイヤースタイルのダイアログボックスで詳細設定する」
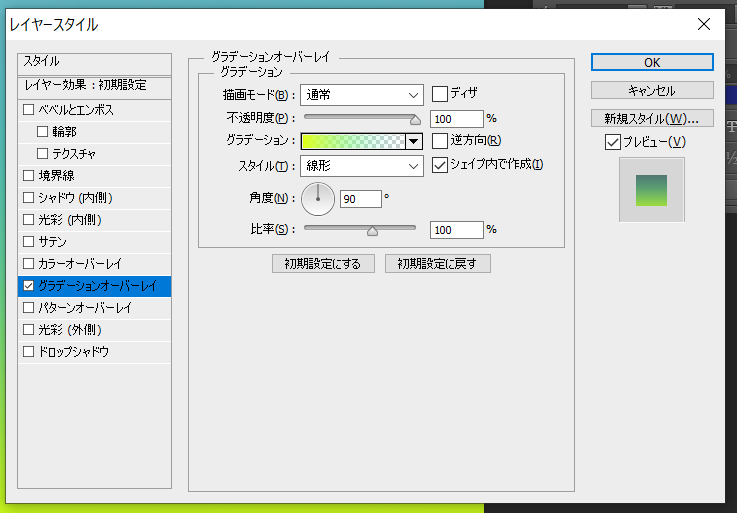
解説:まずは、レイヤーパネルの下にあるレイヤースタイルアイコンをクリックして、表示される一覧の中にある【グラデーションオーバーレイ】をクリックします。
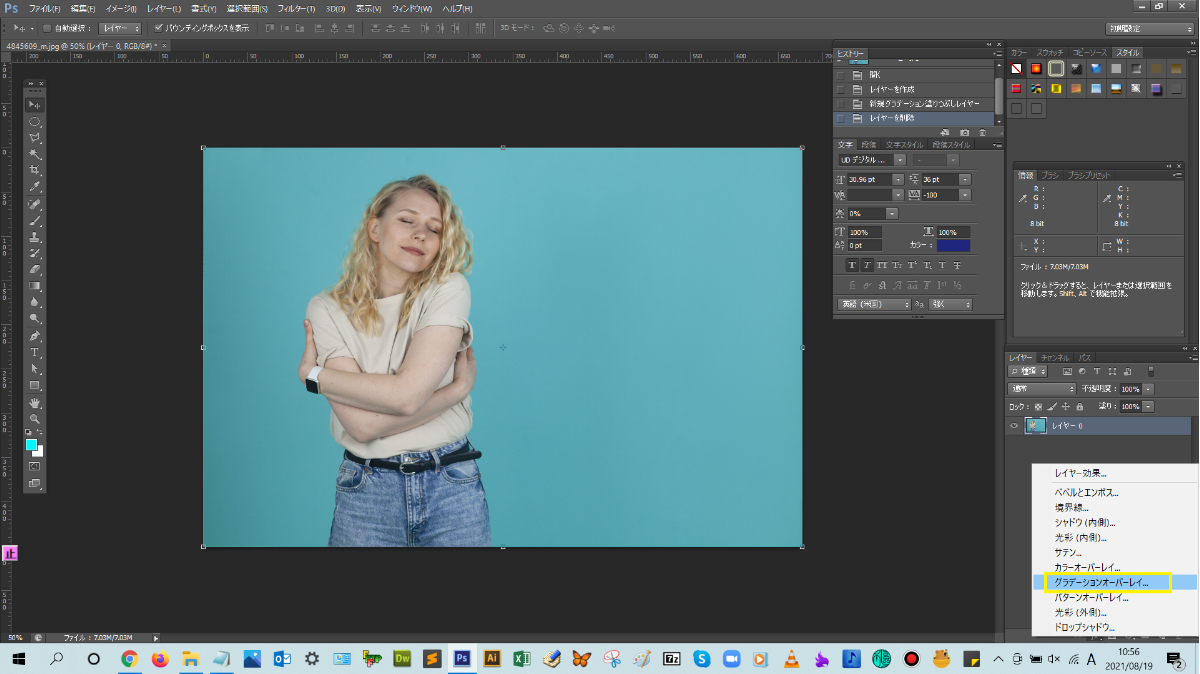
レイヤースタイルダイアログボックスの【グラデーションオーバーレイ】が表示されるので、目的に応じて、設定していきます。各項目の設定が完了したら、【OK】をクリックして、ダイアログボックスを閉じます。
オブジェクトの色味がグラデーションに変換できましたね!(^^)!

再度、調整したい場合は、レイヤーパネルを見るとレイヤースタイル(効果)が追加されているので、追加した効果の名前(グラデーションオーバーレイ)をダブルクリックすると、ダイアログボックスが表示でき、設定値を変更することが可能です。
point
追加したレイヤー効果は、Altキーを押しながら、別のレイヤーにドラッグ&ドロップすると、コピーすることができます。各設定項目の詳細を教えてほしいです。
描画モード:影とその影をつけるレイヤーの下にあるレイヤーとの合成方法、不透明度:グラデーション全体の濃さ、グラデーション:色の設定、スタイル:効果の適用方法、を設定できるよ!
これで、本文は以上となります。お疲れ様でした!
まとめ!
- グラデーションオーバーレイ機能でできること
- オブジェクトの色味をグラデーションに変換する手順
- ワンポイントアドバイス
読者さんの悩みがなくなるように、このような解説をしてきましたが、いかがでしたでしょうか?
Photoshopで色味をグラデーションに変換する操作方法が少しでも分かりやすく伝わっておりましたら幸いです。
では、ここまで
読んでいただきありがとうございました!
本記事は以上となります。また次回の記事でお会いしましょう!