
Photoshopでオブジェクトを立体的にしたいのですが、どうしたらいいですか?Photoshopを初めて使用する初心者でも、簡単にわかりやすく教えてほしいです。

その場合は、レイヤースタイルアイコンからベベルとエンボスの機能を使用したらいいよ!それじゃ、今回は「Photoshopのベベルとエンボスの基本操作方法」について解説していくね!
本記事のテーマ
ベベルとエンボスのの操作手順を解説!それでは、さっそく本題に入っていきましょう!
はい、今回もよろしくお願いします(*´▽`*)
Photoshopでオブジェクトを立体的にする!
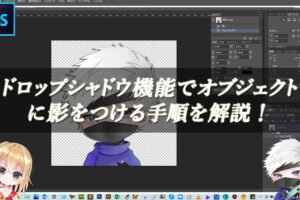
Photoshopのレイヤーパネルにある、レイヤースタイルアイコンをクリックして【ベベルとエンボス】の機能を使用することで、簡単に対象物に立体感をだすことができます。サイト用のバナーボタンなどを作成する際に使用されたりします。
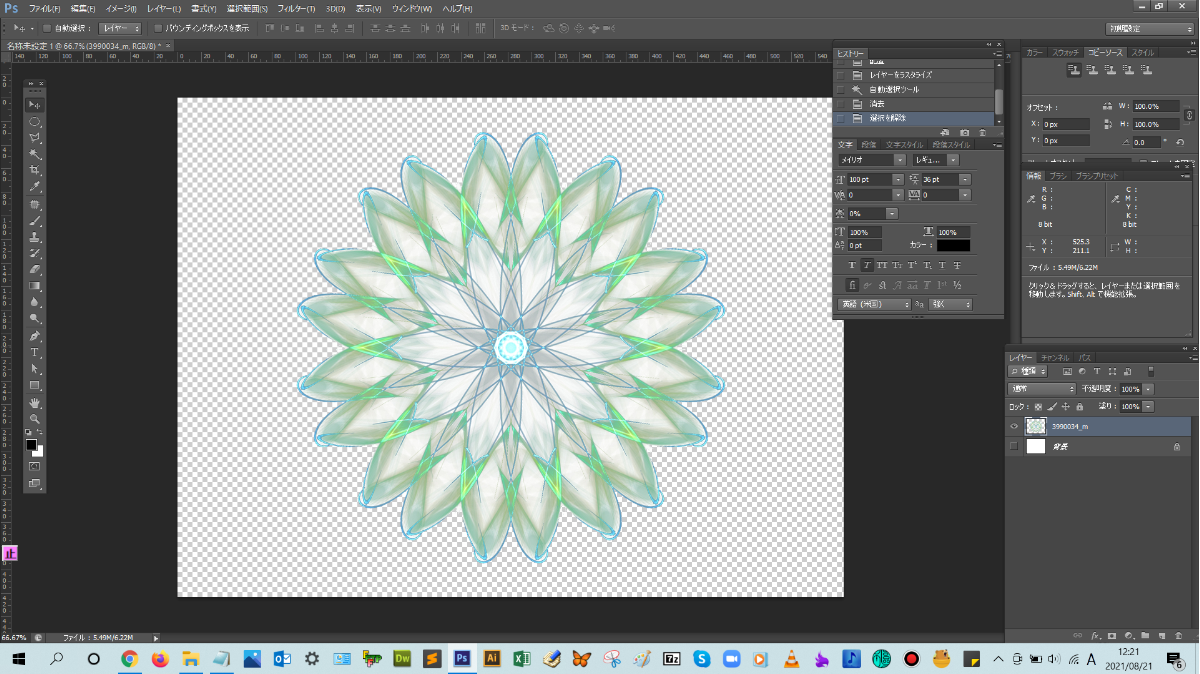
■BEFORE:通常の画像
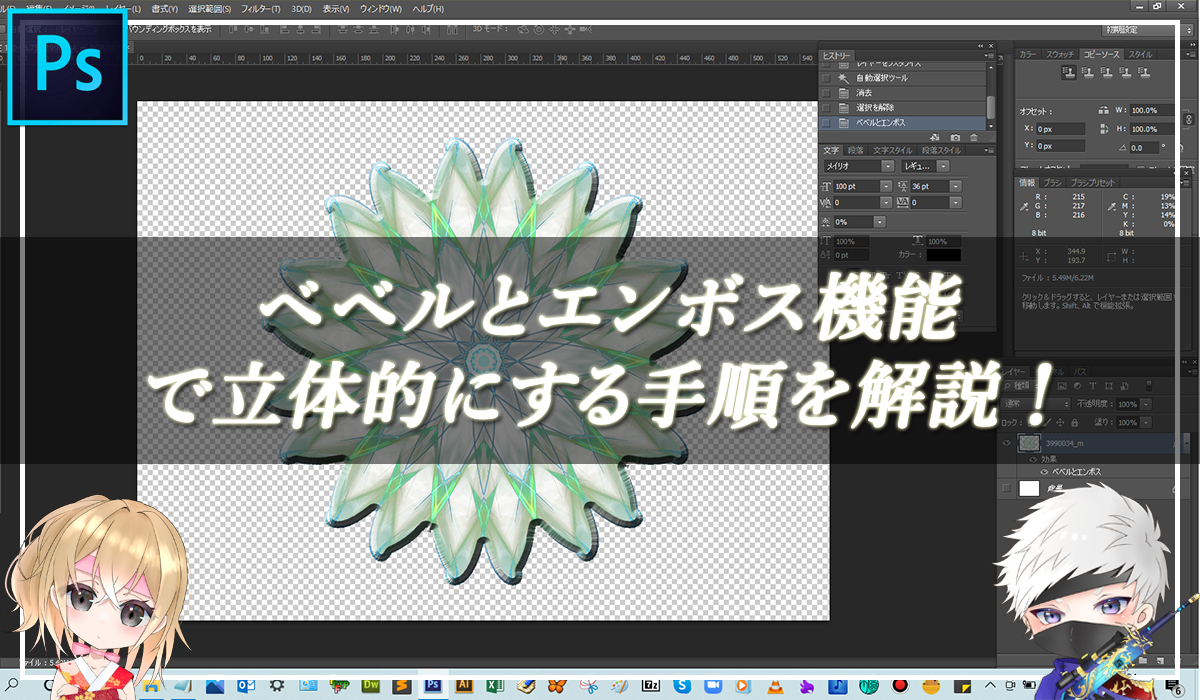
■AFTER:立体的な画像

レイヤースタイルのベベルとエンボスで立体感を出す手順
ベベルとエンボスの機能を使うと、オブジェクトを立体的にすることができるということを覚えておこう!
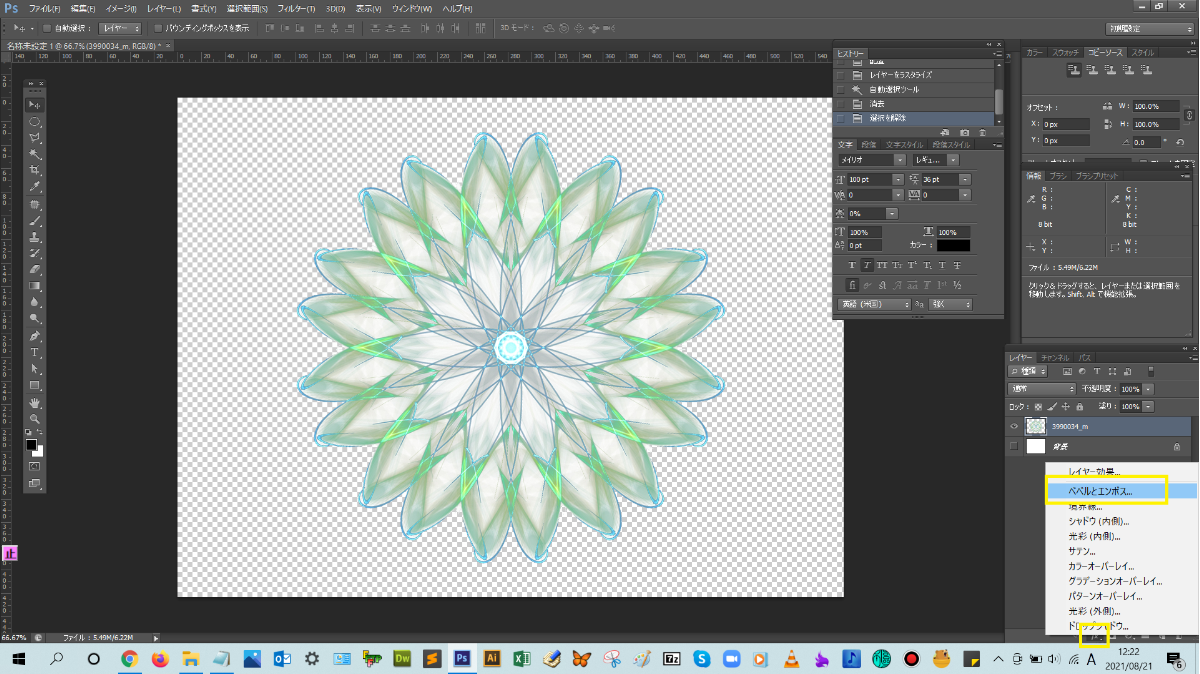
手順:「①レイヤーパネルの下にあるレイヤースタイルアイコンをクリック」 > 「②表示される一覧の中にあるベベルとエンボスをクリック」 > 「③レイヤースタイルのダイアログボックスで詳細設定する」
解説:まずは、レイヤーパネルの下にあるレイヤースタイルアイコンをクリックして、表示される一覧の中にある【ベベルとエンボス】をクリックします。
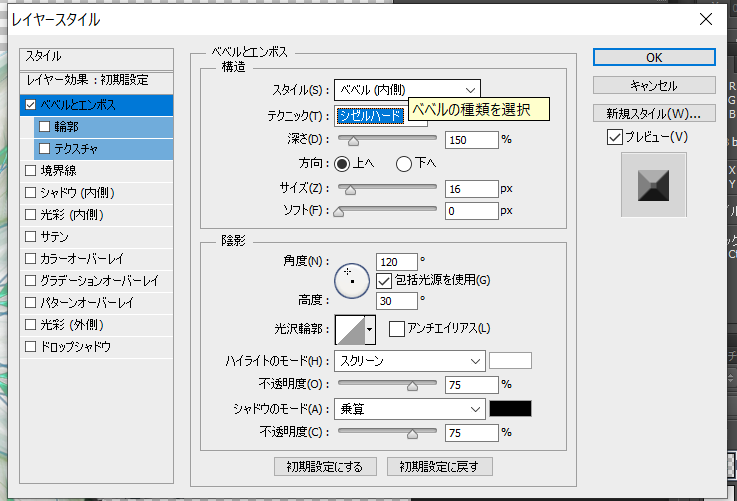
レイヤースタイルダイアログボックスの【ベベルとエンボス】が表示されるので、目的に応じて、設定していきます。各項目の設定が完了したら、【OK】をクリックして、ダイアログボックスを閉じます。
オブジェクトが立体的になりましたね!(^^)!
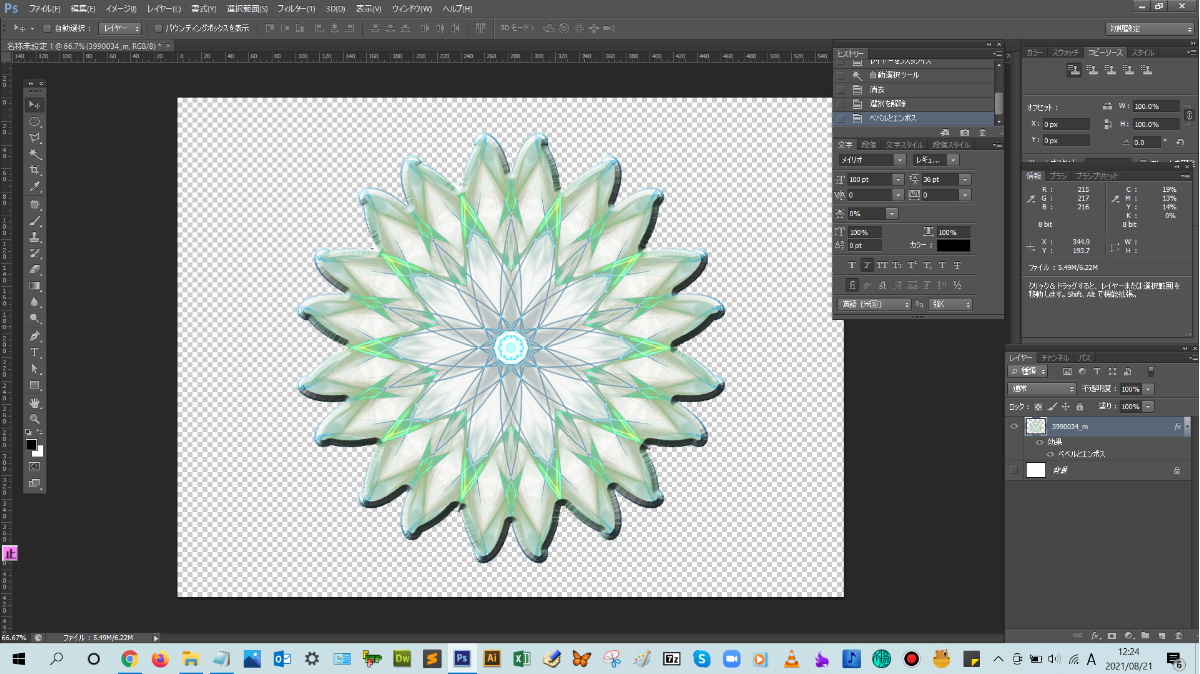
再度、ベベルとエンボスを調整したい場合は、レイヤーパネルを見るとレイヤースタイル(効果)が追加されているので、追加した効果の名前(ベベルとエンボス)をダブルクリックすると、ダイアログボックスが表示でき、設定値を変更することが可能です。
point
追加したレイヤー効果は、Altキーを押しながら、別のレイヤーにドラッグ&ドロップすると、コピーすることができます。【新規スタイル】をクリックして、スタイルパネルの中に、作成したレイヤースタイル(効果)を登録しておいて、スタイルパネルから、効果を呼び出すことも可能です。各設定項目の詳細を教えてほしいです。
スタイル:立体感の演出方法、深さ:立体感の深さ具合、サイズ:影の大きさを設定できるよ!毎回、同じ設定で同じような効果を追加できるわけではないから、プレビューのチェックボックスにチェックを入れて、確認しながら、設定を調整していくようにしよう!
付与したレイヤースタイルを削除したい場合は、どうしたらいいですか?
レイヤースタイルを追加したレイヤーを選択モードにして、右クリックして、レイヤースタイルを消去をクリックすると、効果を消去することができるよ!
これで、本文は以上となります。お疲れ様でした!
まとめ!
- ベベルとエンボスの機能でできること
- レイヤースタイルのベベルとエンボスで立体感を出す手順
- ワンポイントアドバイス
読者さんの悩みがなくなるように、このような解説をしてきましたが、いかがでしたでしょうか?
Photoshopのベベルとエンボスの基本操作方法が少しでも分かりやすく伝わっておりましたら幸いです。
では、ここまで
読んでいただきありがとうございました!
本記事は以上となります。また次回の記事でお会いしましょう!