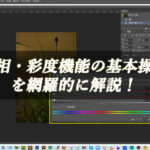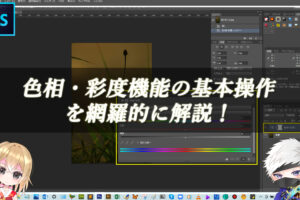


Photoshopのトーンカーブで画像の明暗を調整しよう!
Photoshopのトーンカーブを使用すると、画像の明暗や色味を調整できます。レベル補正機能と似ていますが、トーンカーブでは、目的の箇所にポイントを追加してカーブを作成し、レベル補正よりも高度で柔軟な補正ができるのが特徴です。
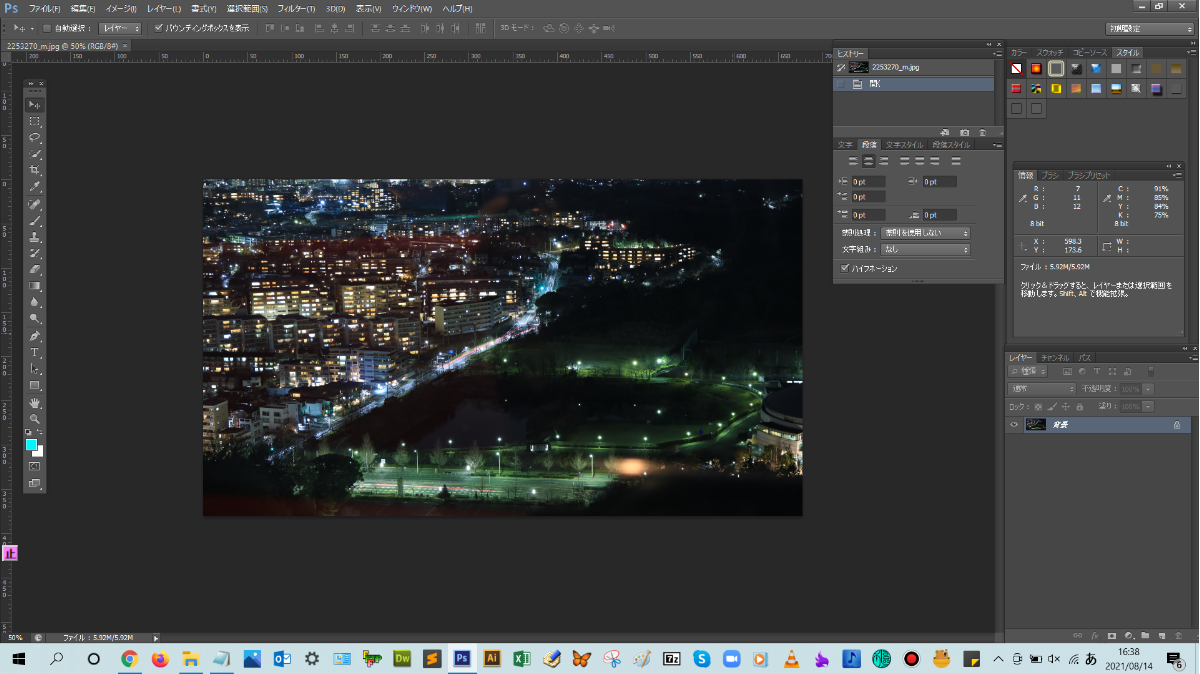
■BEFORE:暗い印象の画像
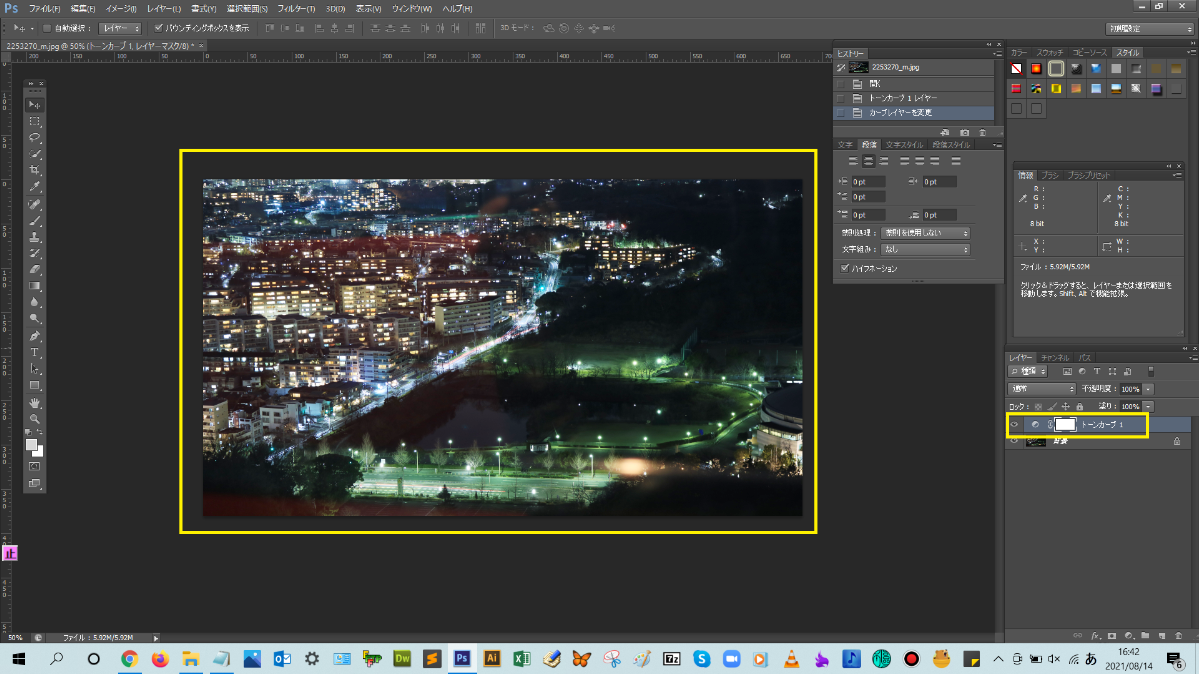
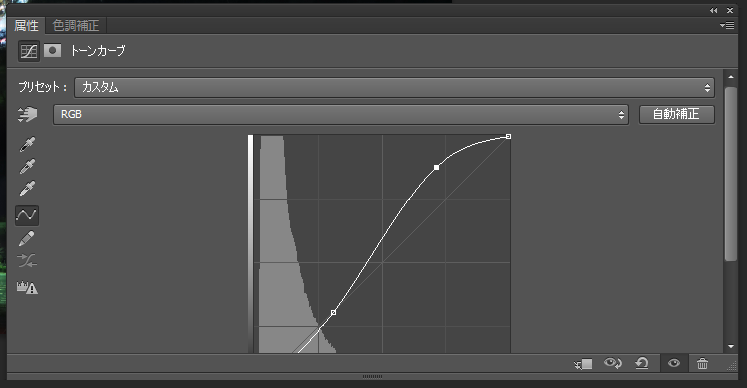
■AFTER:しっかりとした印象の画像に変わります
調整レイヤーのトーンカーブ操作手順
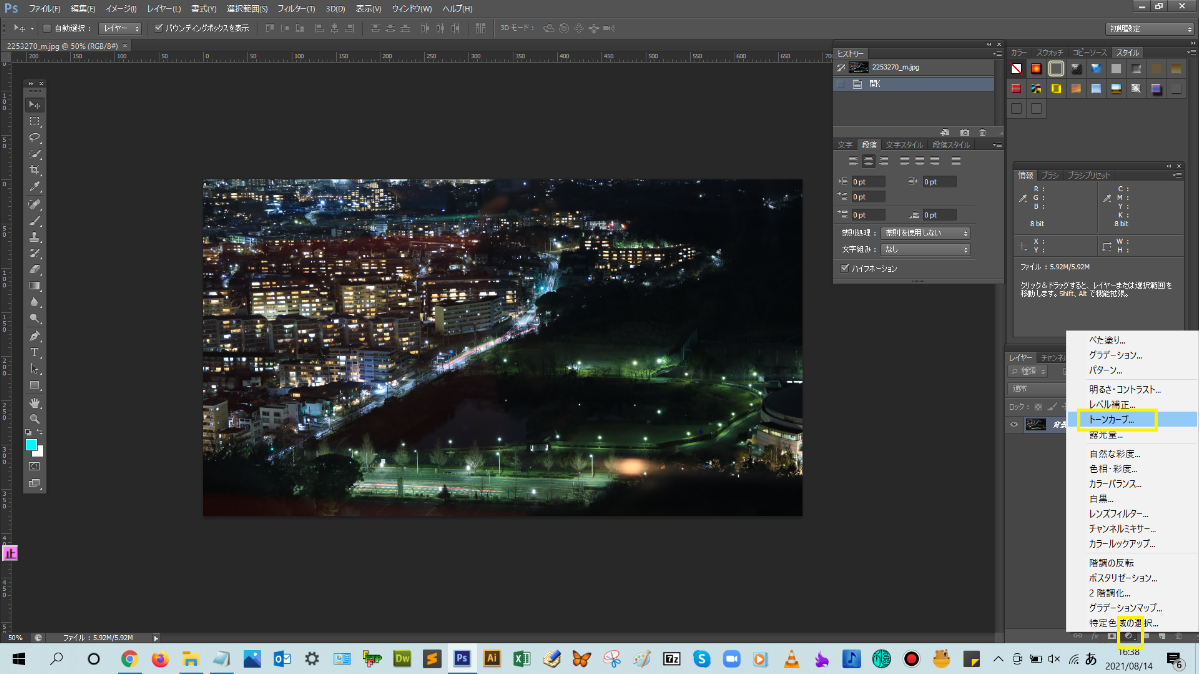
解説:まずは、レイヤーパネルの下にある塗りつぶしまたは調整レイヤーを新規作成をクリックして、表示される一覧の中にあるトーンカーブをクリックします。
そうすると、独立した調整レイヤーでトーンカーブが作成されましたね!(^^)!
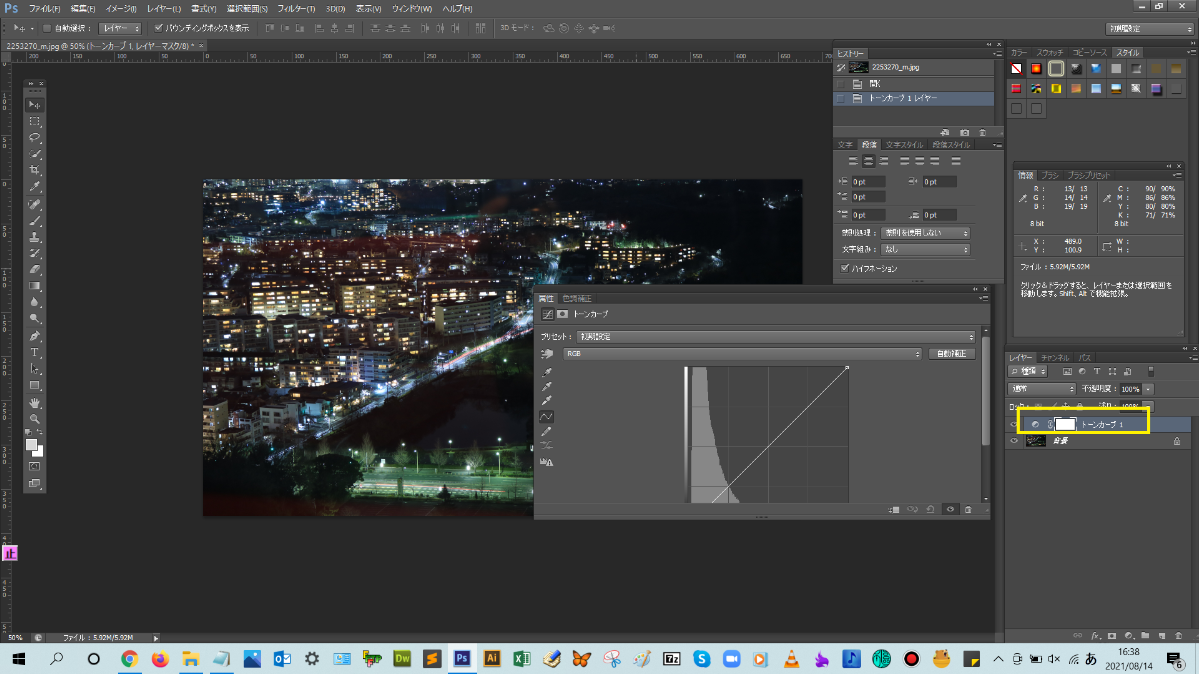
属性パネルが表示されるので、ここでは、中間調にポイントを追加して画像の明暗を調整していきます。なので、斜線の中心付近をクリックして、ポイントを追加します。
今回は、追加したポイントを上側に向かってドラッグして、全体的に明るめにし、はっきりとした画像の印象にしていきます。
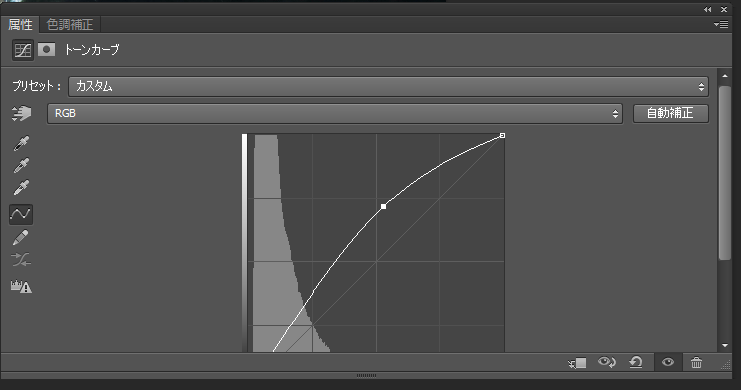
追加したポイントを上側に向かってドラッグしていくと、補正前(入力)の数値が補正後(出力)の数値よりも下がったと思います。これは、ハイライト0に近づいたことで、画像が明るくなり、濃度が上がったことを意味します。
調整が終わったら、属性パネル右上の矢印マークをクリックして、属性パネルを閉じましょう。

画像が暗めになり、濃度が高まって、しっかりとした印象の画像に仕上がりましたね!(^^)!
トーンカーブの4つの形を覚えておこう!
パターン1:画像を明るくする

パターン2:画像を暗くする

パターン3:画像をシャープにする
パターン4:画像をソフトにする

まとめ!
- トーンカーブとは?
- トーンカーブの操作手順について
- トーンカーブの4つのパターン
- ワンポイントアドバイス
読者さんの悩みがなくなるように、このような解説をしてきましたが、いかがでしたでしょうか?
Photoshopのトーンカーブ基本操作が少しでも分かりやすく伝わっておりましたら幸いです。
では、ここまで
読んでいただきありがとうございました!