
この記事でわかること
Photoshopでオブジェクトを操作する!
オブジェクトとは、画像やシェイプや文字などの対象物のことを指します。オブジェクトの移動や拡大・縮小の方法、傾きの変え方などを覚えましょう。
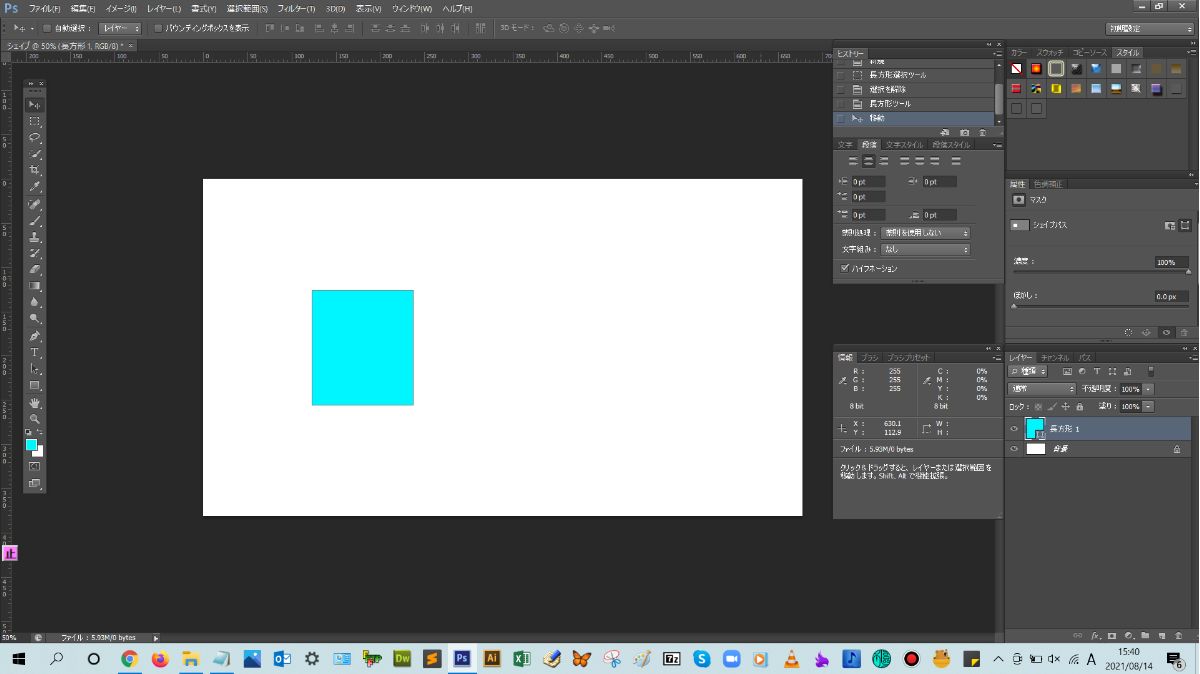
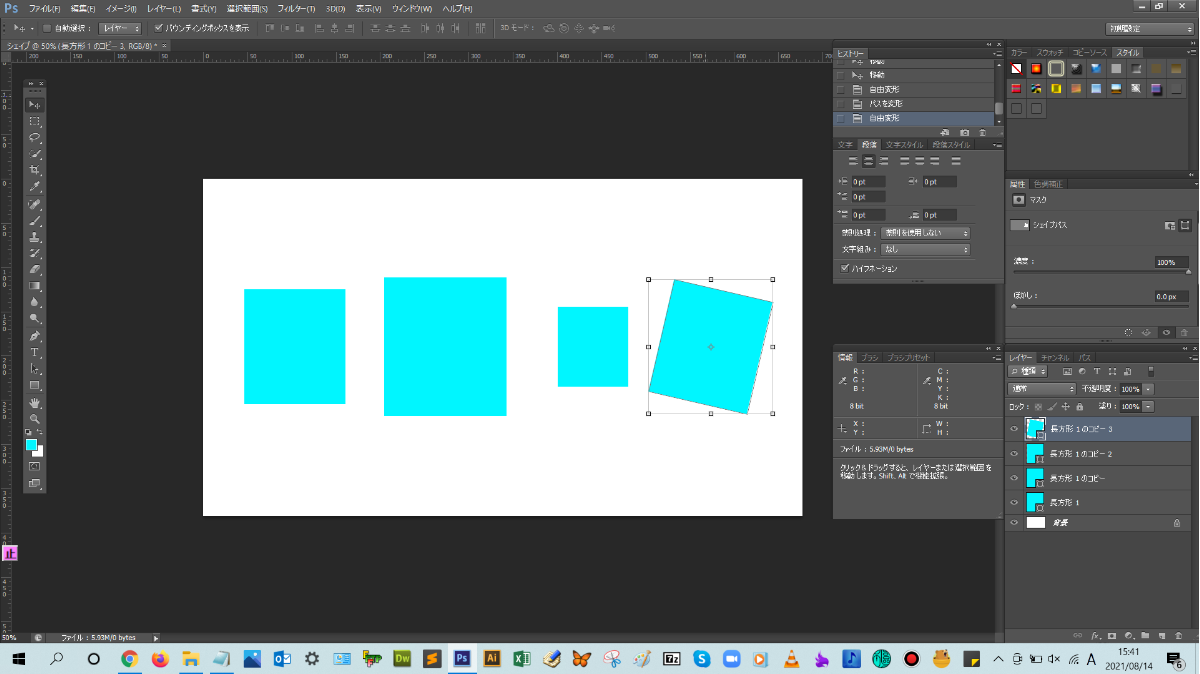
■BEFORE:シェイプ
■AFTER:移動、拡大・縮小、傾いたシェイプ
オブジェクトを移動させる手順
解説:ツールバーから移動ツールをクリックします。

移動ツールをクリックすると、上のメニューバーの下の表示が変更されますが、ここは、選んだツールによって、そのツールのオプションを設定できる専用のバー(オプションバー)が表示されます。
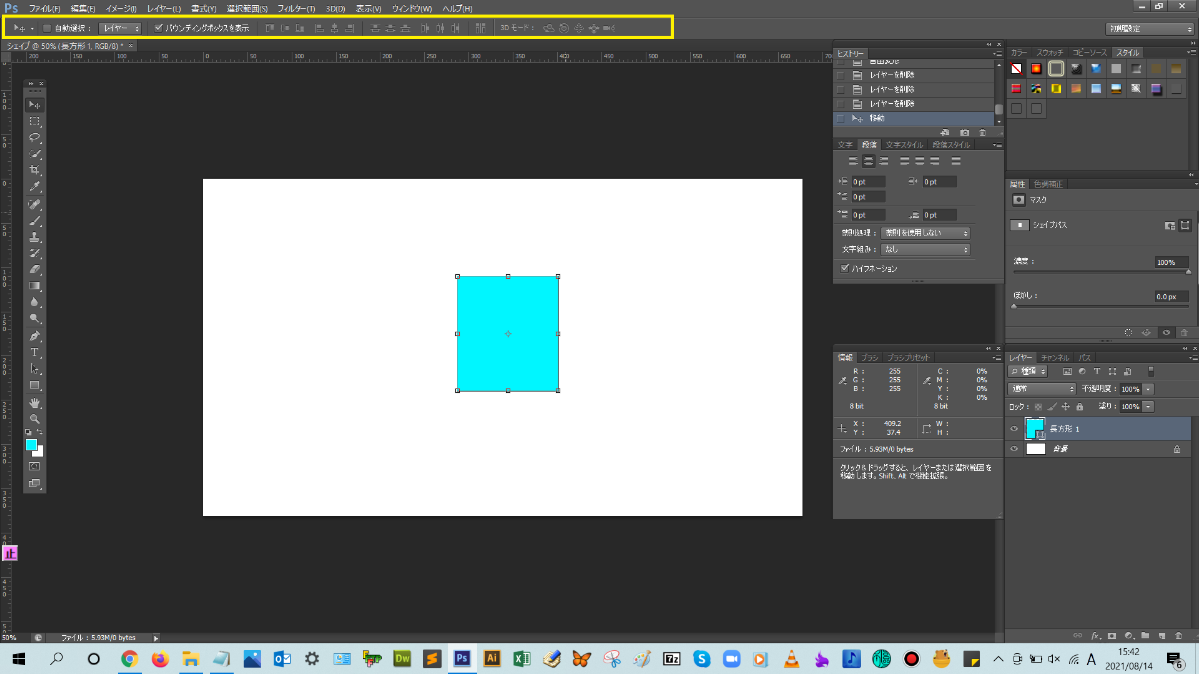
今回、オプションバーの設定は、自動選択とバウンディングボックスにチェックを入れます。自動選択にチェックを入れることで、レイヤーを選択モードにする必要がなく、ドキュメント上にあるオブジェクトをクリックすると、選択状態になります。
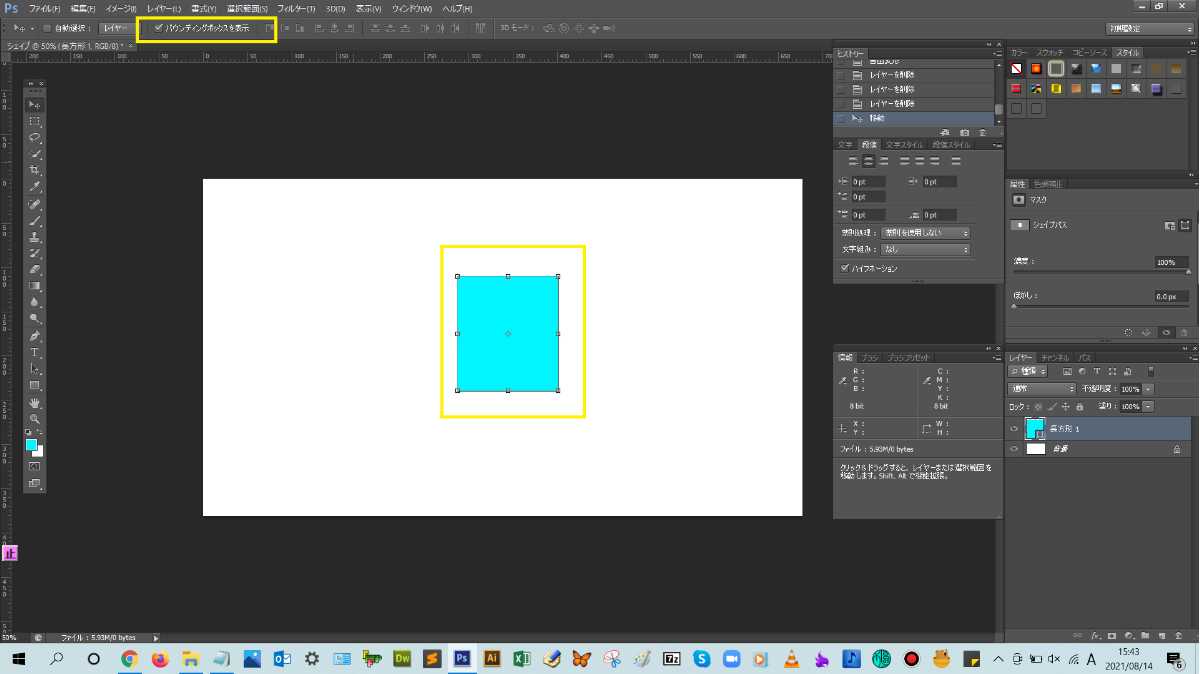
また、バウンディングボックスにチェックを入れることで、そのオブジェクトが選択されたときに、四角の枠がオブジェクトの周りに表示されるので、選択されたかどうかがわかりやすくすることができます。
オプションバーの設定が終わったら、ドキュメント上にあるオブジェクトをクリックして、移動したい箇所にドラッグして、オブジェクトを移動させます。
オブジェクトを拡大・縮小と傾ける操作手順
解説:ツールバーから移動ツールをクリックして、オプションバーにあるバウンディングボックスにチェックを入れます。

その状態で、目的のオブジェクトをクリックすると、バウンディングボックスが表示されましたね。
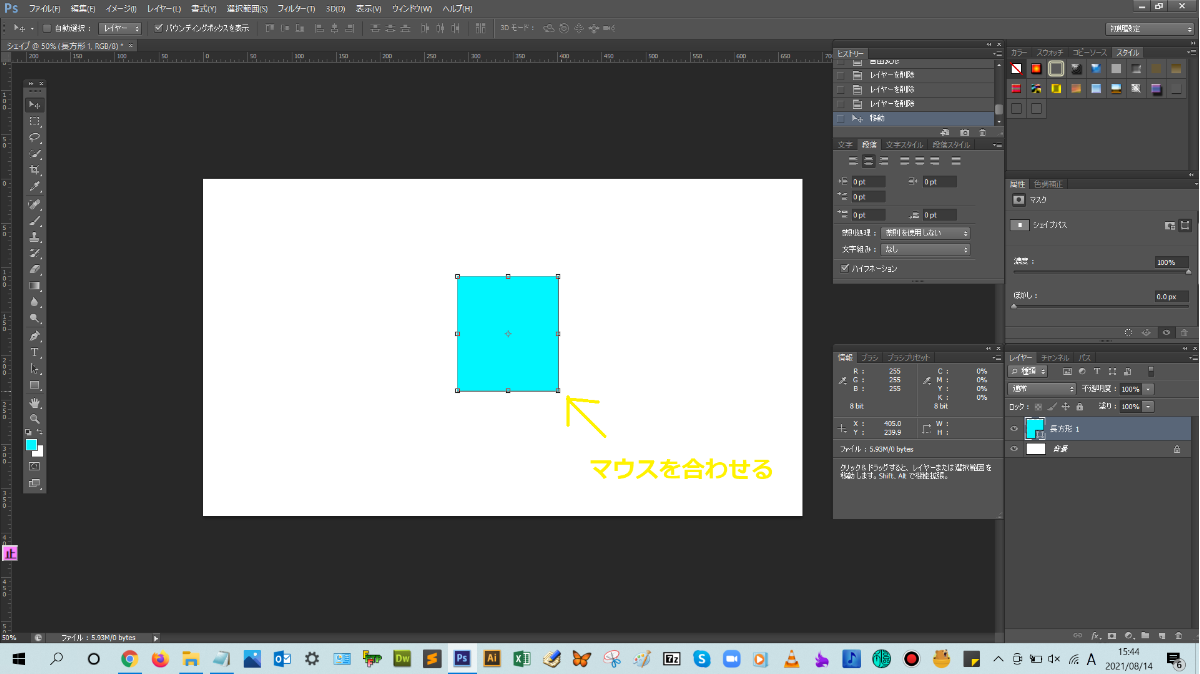
拡大・縮小したい場合は、バウンディングボックスの四隅の角に、マウスポインターを合わせて、拡大・縮小マークが表示された状態でドラッグすると拡大・縮小できます。
また、オブジェクトを回転させて、傾きを変えたい場合は、バウンディングボックスの四隅の角に、マウスポインターを合わせて、回転マークが表示された状態でドラッグすると、回転できます。
回転や拡大・縮小が終わったら、オプションバーにある「〇」のマークをクリックすると、確定できます。
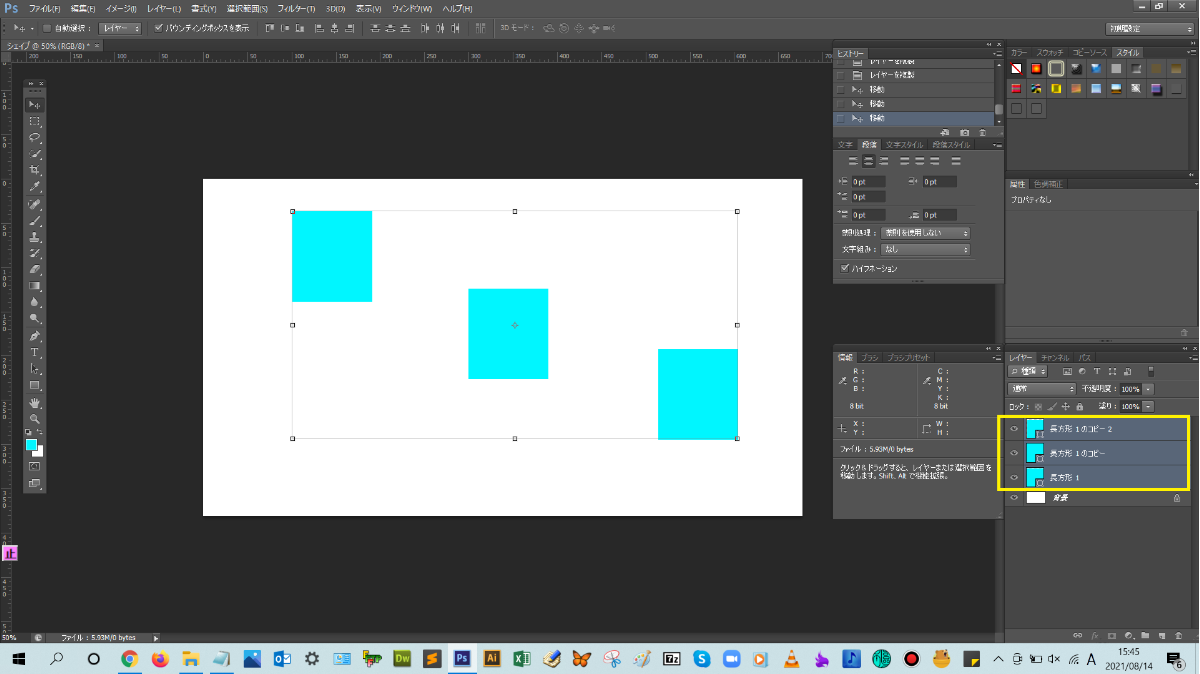
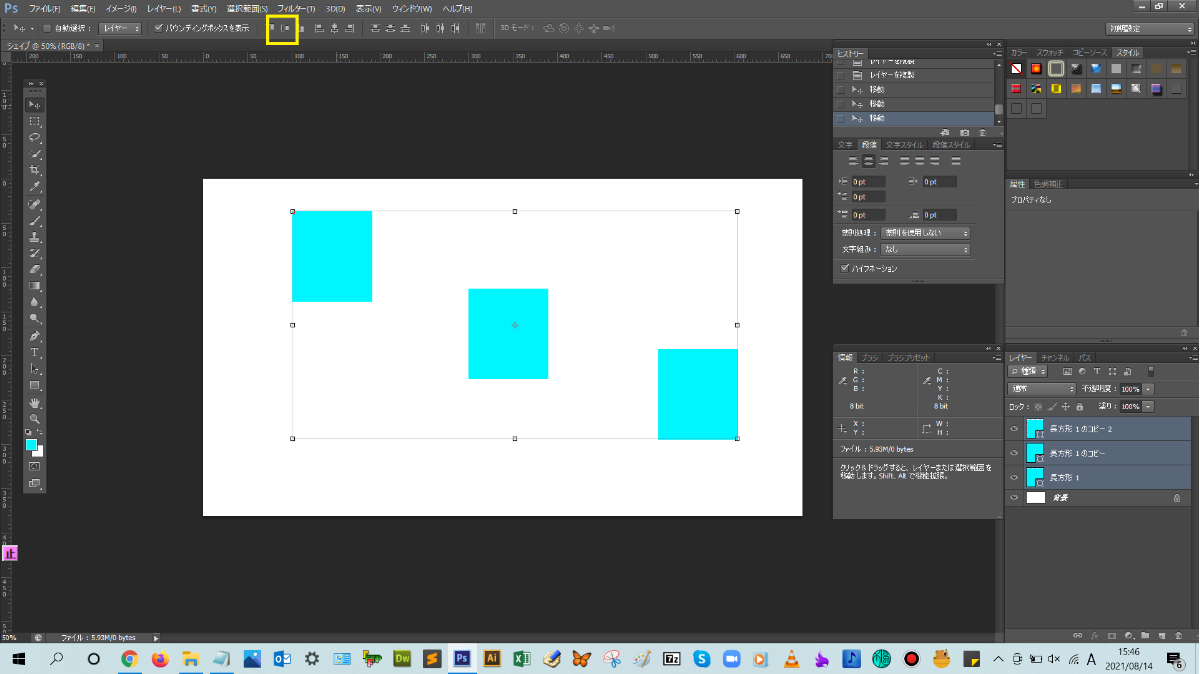
オブジェクトを整列する操作手順
解説:まずは、レイヤーパネルから、整列したいオブジェクトのレイヤーを複数選択します。レイヤーを複数選択する場合は、Ctrlキーを押しながら、複数レイヤーをクリックします。
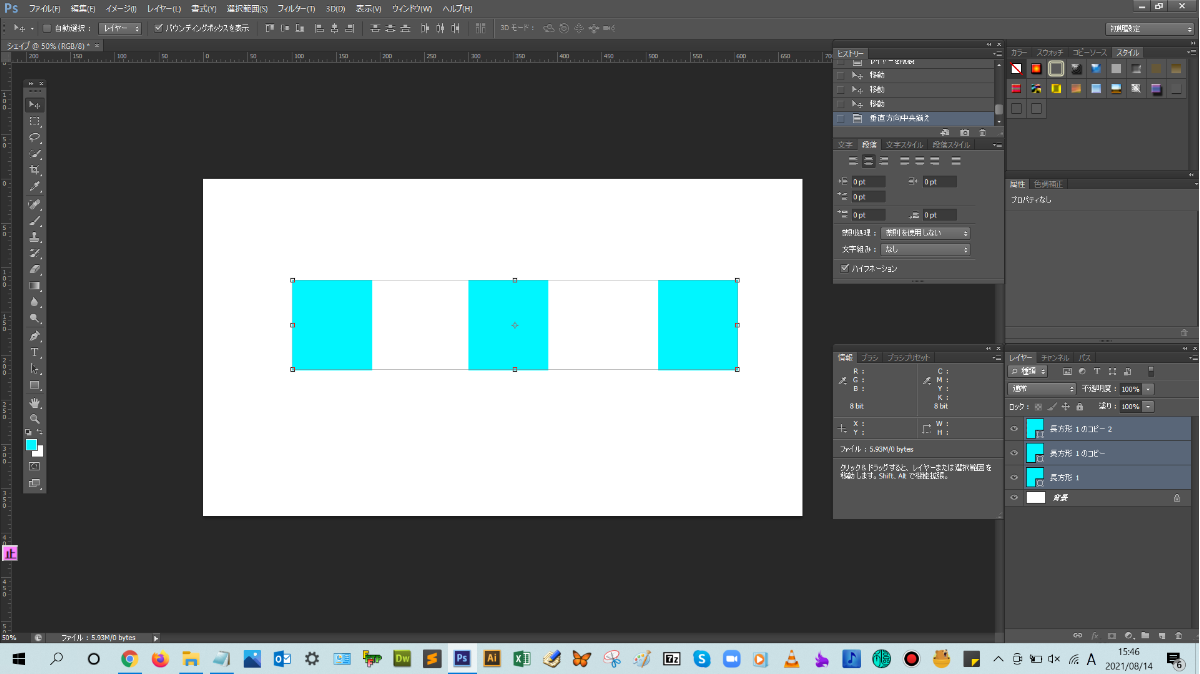
ツールバーにある移動ツールをクリックして、オプションバーにある整列方法をクリックすると、縦方向や横方向にそろえることができます。ここでは、横方向にそろえるために、水平方向中央ぞろえを選択します。
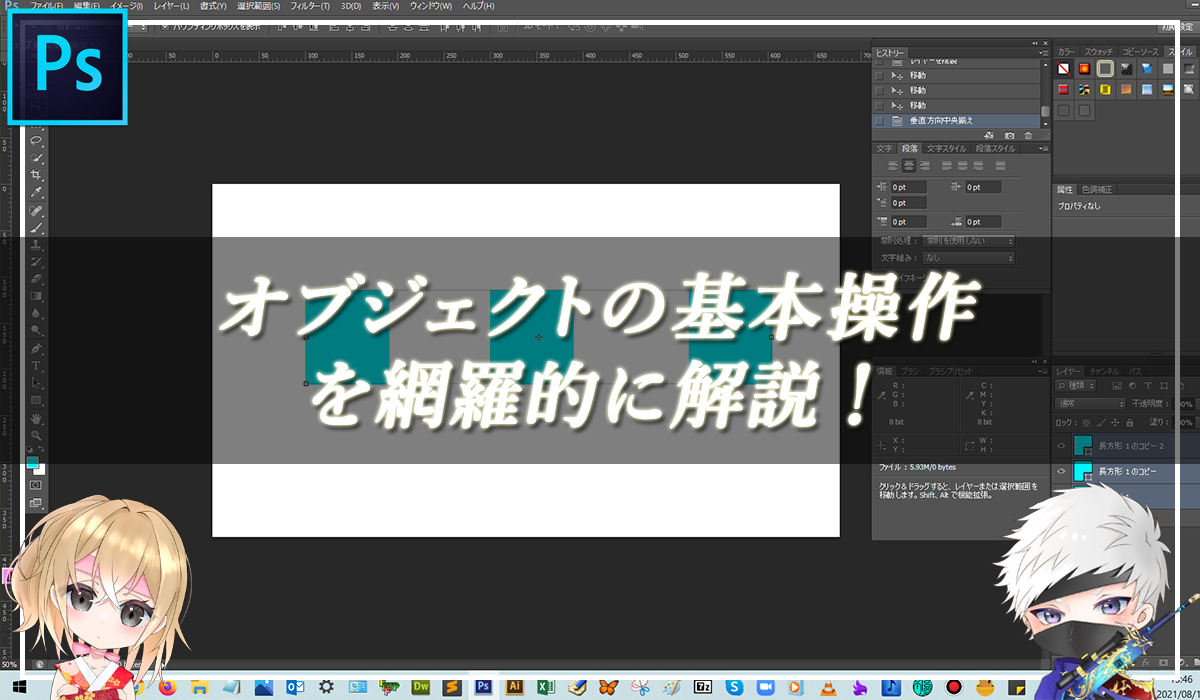
オブジェクトが水平方向に揃いましたね!(^^)!
まとめ!
- オブジェクトの移動・拡大・縮小手順について
- オブジェクトの整列手順について
読者さんの悩みがなくなるように、このような解説をしてきましたが、いかがでしたでしょうか?
Photoshopでのオブジェクトの基本操作方法が少しでも分かりやすく伝わっておりましたら幸いです。
では、ここまで
読んでいただきありがとうございました!